

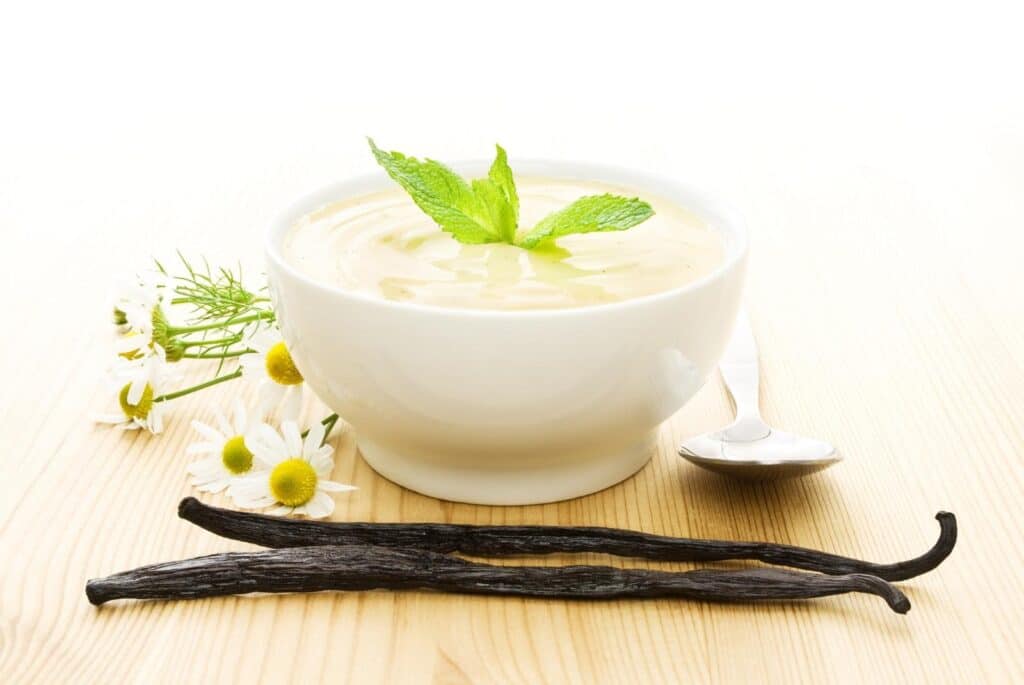


Probiotic-Rich Vegan Vanilla Yogurt with Homemade Cashew Milk
The creamiest, dreamiest vegan yogurt made with vanilla bean powder and homemade cashew milk. Brimming with thriving, active probiotics.
Equipment
- Large bowl
- High power blender
- Nut milk bag
- Small jar with a lid
- Stainless steel pan
- Food thermometer
- Culturing jars with lids
- Yogurt maker
Ingredients
Cashew Milk
- 1 cup raw unsalted cashew nuts
- 4 cups filtered water
Calcium Water
- ½ tsp calcium powder
- ½ cup filtered water
Vegan Yogurt
- 4 cups cashew milk
- 4 tsp calcium water
- ½ tsp v
anilla bean powder - 2 tsp
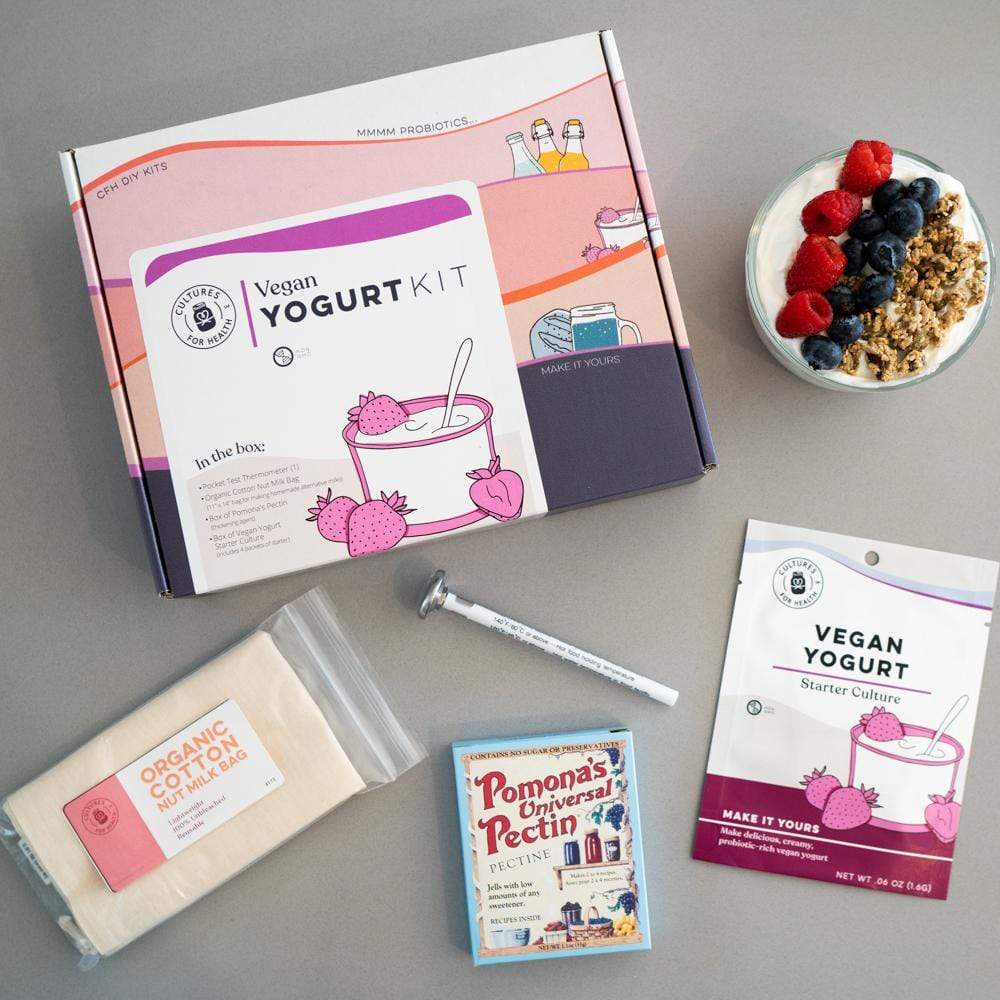
pectin - 1 packet v
egan yogurt starter culture
Instructions
Making the Cashew Milk
- Place the cashew nuts in a large bowl and pour in enough filtered water to cover them.
- Cover the bowl and leave to soak for 6-8 hours.
- Drain the cashew nuts, discard the water, and place them in the blender.
- Add the fresh filtered water.
- Blend well until you have a smooth consistency.
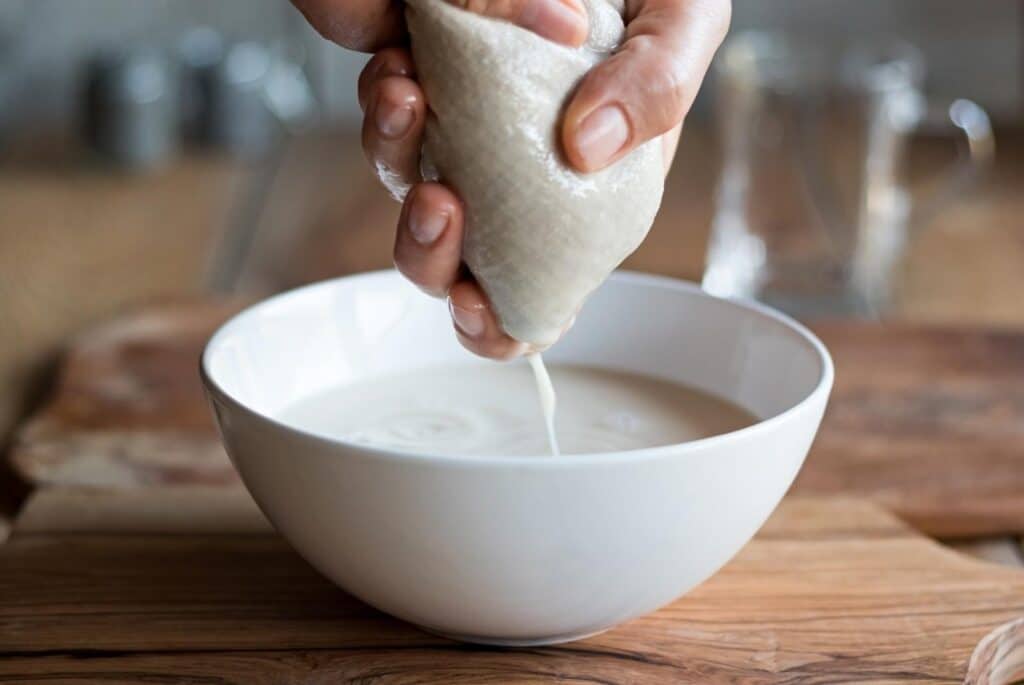
- Over a large bowl, pour the milk into a nut milk bag.
- Squeeze the bag until all the cashew milk has been drained into the bowl.
- Wash the blender to be ready for the next step.
Making the Calcium Water
- In a jar, combine the filtered water with the Pomona calcium powder and shake well.
Making the Vegan Yogurt
Step 1: Preparation
- Pour the cashew milk into a stainless-steel pan.
- Add the prepared calcium water to the cold milk and mix it well.
- Add the vanilla bean powder and mix in well.
- Slowly heat the milk to a low boil and allow to simmer for 5 minutes
- Remove from the heat.
- Pour 1 cup of the heated milk into the blender.
- Add the pectin.
- Ensure the blender lid is vented so that steam can escape and then blend well for 1 minute
- Scrape down the sides of the blender and check to see if there are any lumps.
- Continue to stir and blend until all the pectin has been incorporated and the mixture is completely smooth.
- Return the pan of warm milk to the stove and slowly heat the milk to a low boil again
- Slowly add the pectin and milk mixture back to the heated milk in the pan whisking often to prevent lumps from forming.
- Simmer on a low boil for another 5 minutes
- Remove from the heat and allow the mixture to cool to 110° F
Step 2: Culturing
- When the mixture has reached 110° F add the starter culture. Mix it in well.
- Divide the mixture into the culturing jars.
- Place the jars into the yogurt maker.
- You can balance the lids on the jars, but don’t seal them.
- Culture at 108° F to 110° F for 6-8 hours.
Step 3: Cooling
- After the culturing process, seal the jars tightly and let them cool at room temperature for 2 hours.
- Place the jars of yogurt in the refrigerator for 4-6 hours.
NOTES
Your vegan yogurt will now be thick and ready to eat and enjoy! It should last for up to two weeks when refrigerated.
-


-
Sale!

-
-
-
-
-


Outstanding, I’ve been looking for this recipe for a long time. Thank you so much. 👍🏻
Thank you Mark. I’m so happy you like it!